
How to make this:
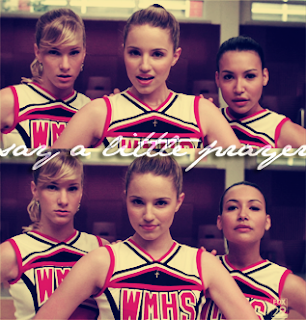
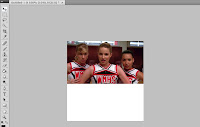
'File'>'Place' and choose the picture you decided. Make it fit. I choose to do a graphic with Quinn, Brittany and Santana from Glee.
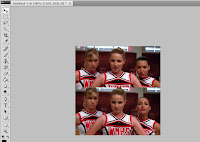
3. Do the same thing with the other picture you've chosen, but place it underneath the first picture
4. Use THIS action. Then, go to 'Layers' and delete all of them, except for the one that's named 'CURVES 1'.
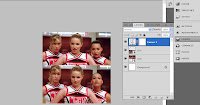
5. Go to Layer>New Adjustments Layer>Brightness/Contrast and put this:
Brightness: -1
Contrast: 32
6. Save the picture as which format you want. Remember you're not done with this yet!
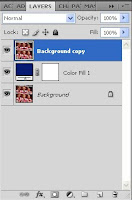
7.Open up the picture you just saved. Go to Layer>New Fill Layer>Solid Color. Put the mode to Exclusion with the opacity 100%. Then when a pop-up comes up when you're gonna choose colors, put this: #071B73.
Copy the background image 'Background' (CTRL+J) and put it above the layer that's called 'COLOR FILL 1'.
8. The layer you just moved are you gonna make black and white (CTRL+SHIFT+U)
and then put the layer to Soft Light


9. Now you're done with the coloring! Then save the graphic as which format you want. Remember, we're still not done with this yet.
I used the font 'JaneAusten' (it's on dafont.com if you want it) and my picture is colorful, so I'm using white color on the text. You can deside yourself what size you want on the text, I decided to choose the size 36pt. When you're done so far, it should look like this:

11. Now, we're gonna make the text look better. Go to Layers and put the blend mode to 'Overlay'.

12. Now, the text is not easy to read, so we're gonna make it appear more. Go to Layers and then click on 'fx' and then click on 'Blending Options'

No comments:
Post a Comment
Thanks for posting a comment on my blog! Here you can write what you think of the graphic, ask something or ask if you don't understand something in the tutorial and I will get back to you as soon as possible!